I am a huge fan of DIY (Do It Yourself) projects. From auto mechanics to costumes, I love working on and building things by myself (with the help of the internet for guidance). I want to start sharing my DIY projects a) To help others do similar projects and b) To show by example that a lot of projects are doable on your own, saving you money and giving you the satisfaction of creating something more or less by yourself.
After 30 odd years my vans visors were looking pretty worn so I thought I would spiff them up. Today’s project is reupholstering sun-visors for your van, car or truck. Although I’m doing my hippie van’s sun-visors, the same process will work on pretty much any vehicle.
Materials/Tools Needed:
1-Yard of Fabric
Scissors
Piece of Chalk (any kind of chalk will do)
Thread & Needle (unless you get your local tailor to do the sewing)
Optional:
(Sewing Machine)
Step 1. Remove your sun-visors from your vehicle. Typically they are connected with two philips-head screws. Unscrew them and it should pull right off.
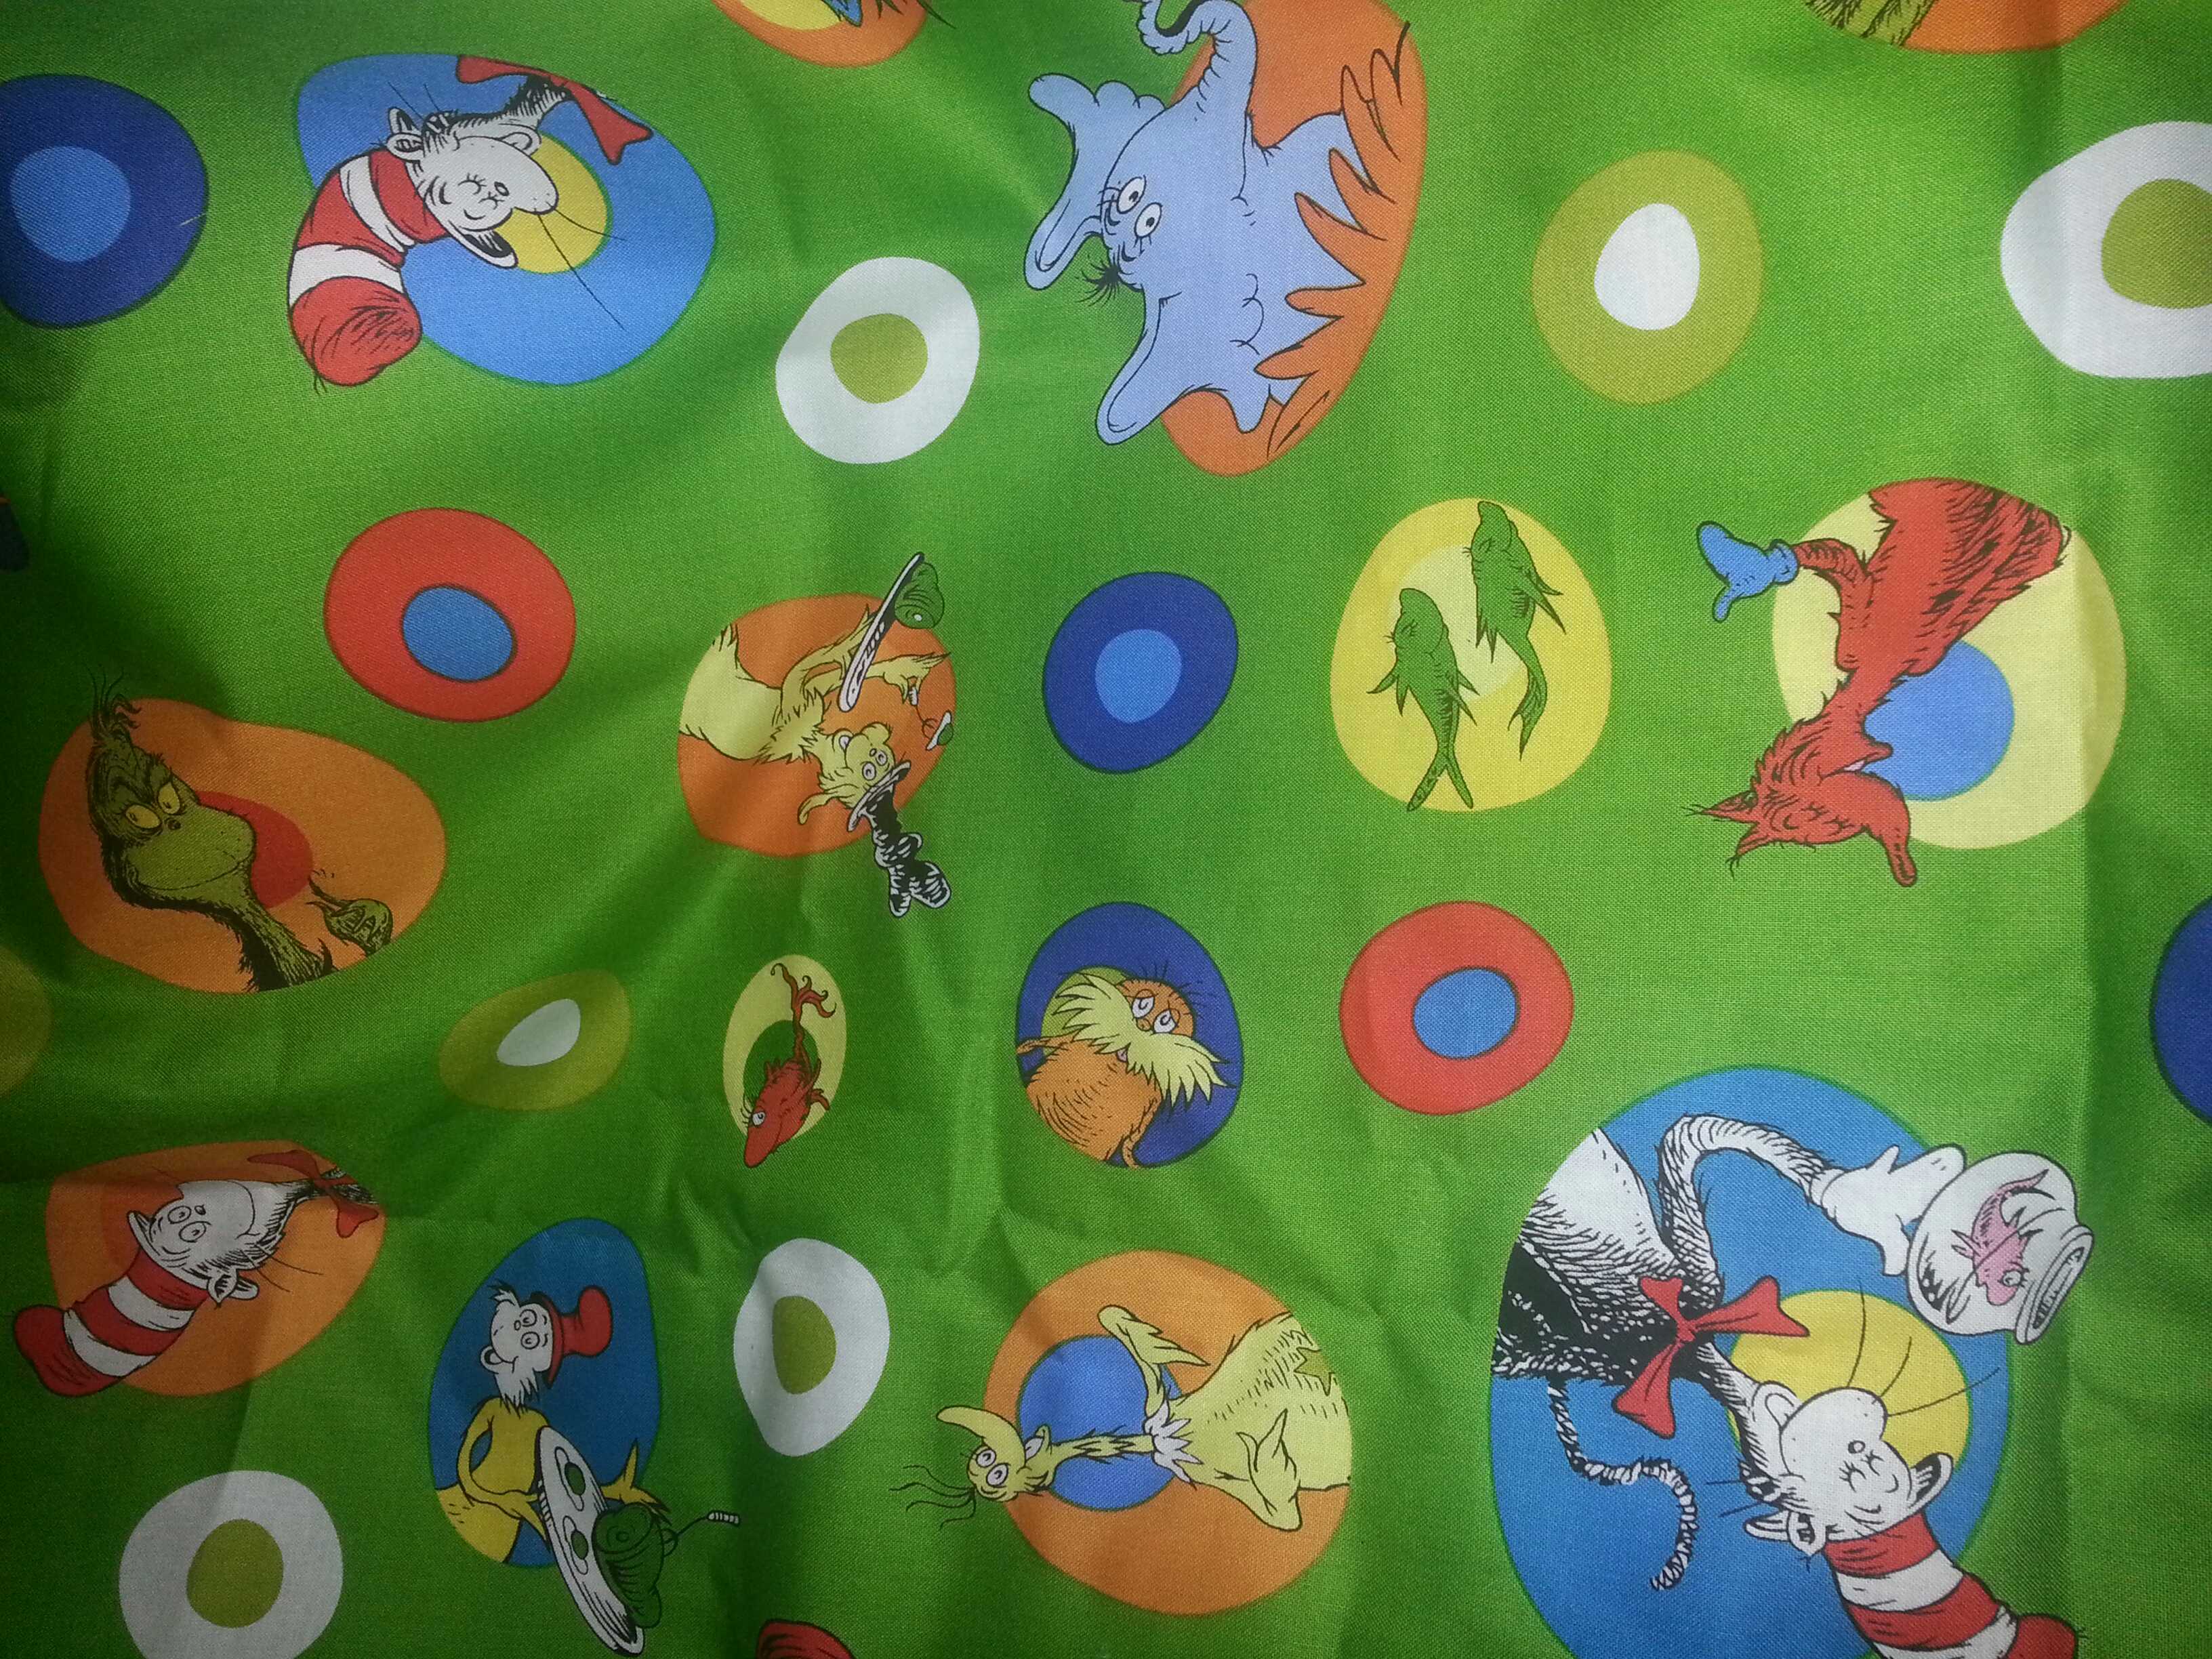
Step 2. Find a material to reupholster your visors with. As you can see I chose a funky Dr. Seuss print which I picked up at a textiles shop on Queen West in Toronto. One yard should be more than enough fabric to do two visors.
Step 3. If possible, remove the visor bracket that attaches the visor to the vehicle. For mine I just had to loosen a screw and twist it off. Some visors, this might not be possible, which is fine, you will just have to work around it.
Step 4. Place the material on a hard surface “good side” facing down (as in, the side you want to see on your final product, facing the table). Place your visor on the material.
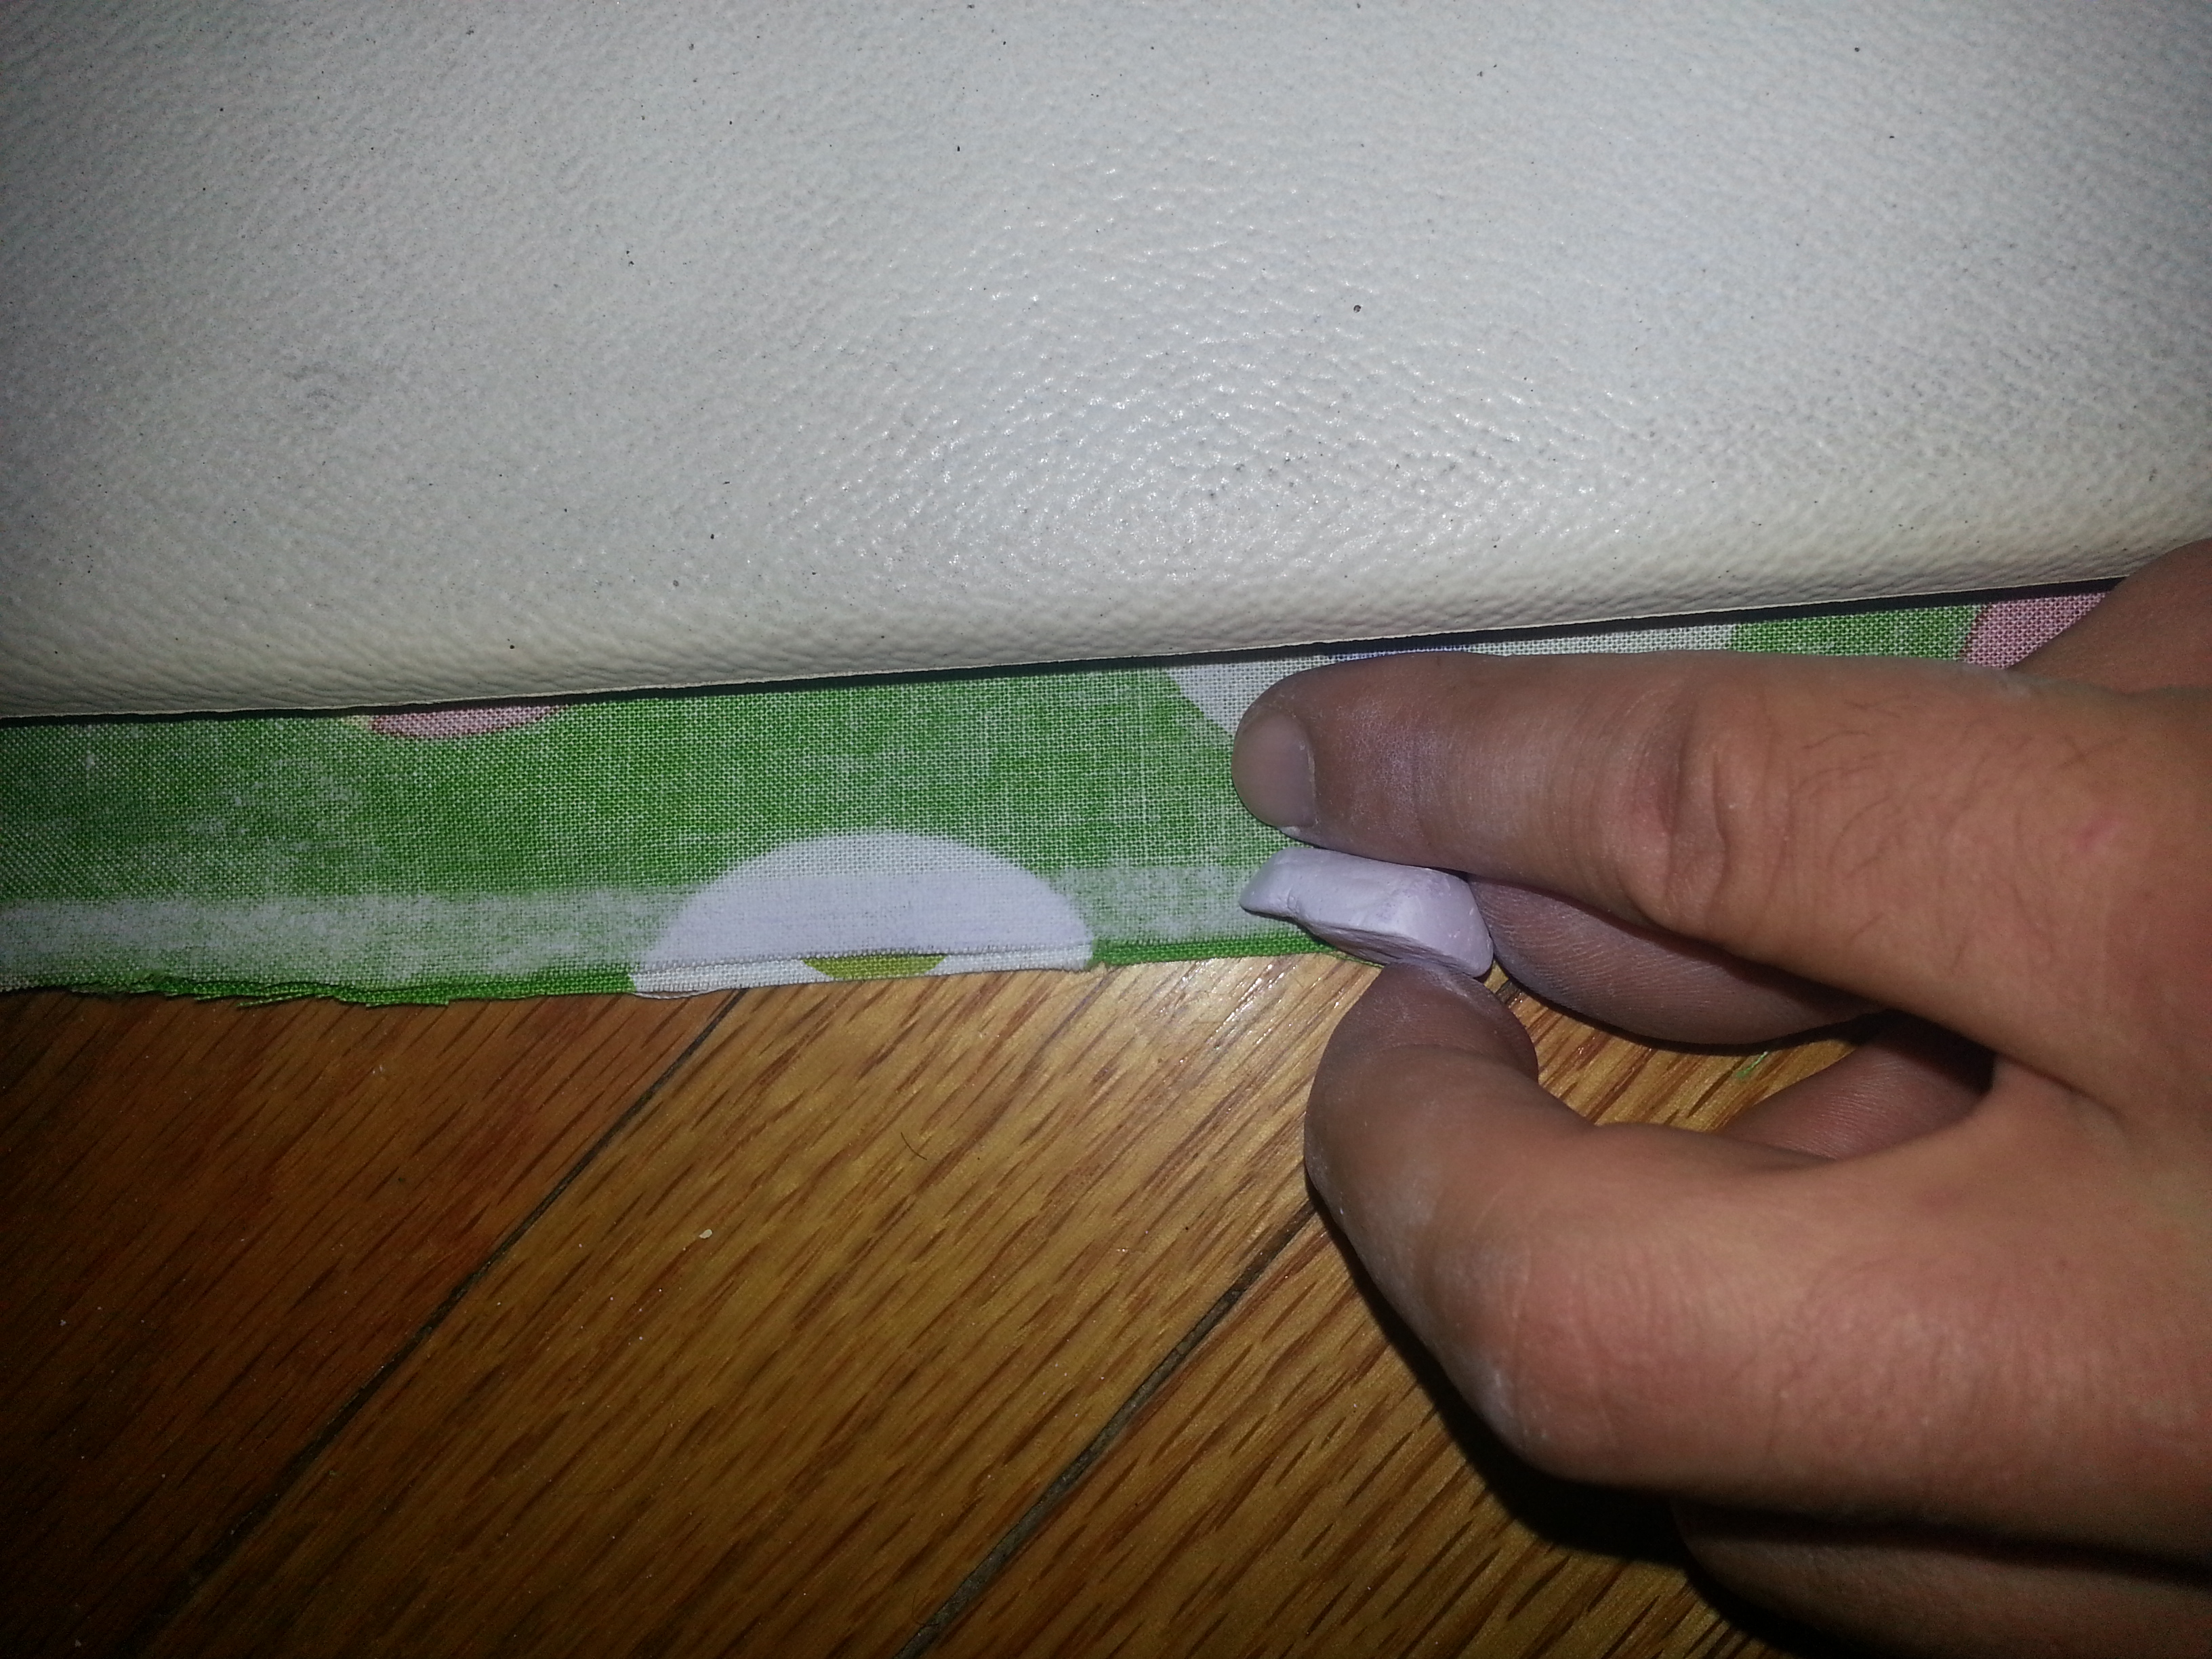
Step 5. Take your piece of chalk and hold it beside your index finger as shown in the photo. Press the other side of your index finger against the edge of the visor. Holding the visor in place and your fabric taut, trace around the visor using your index finger as a spacer so that the outline ends up being about half an inch or so wider than the actual visor.


Step 6. Flip the visor over onto a fresh area of the fabric and repeat step 5.
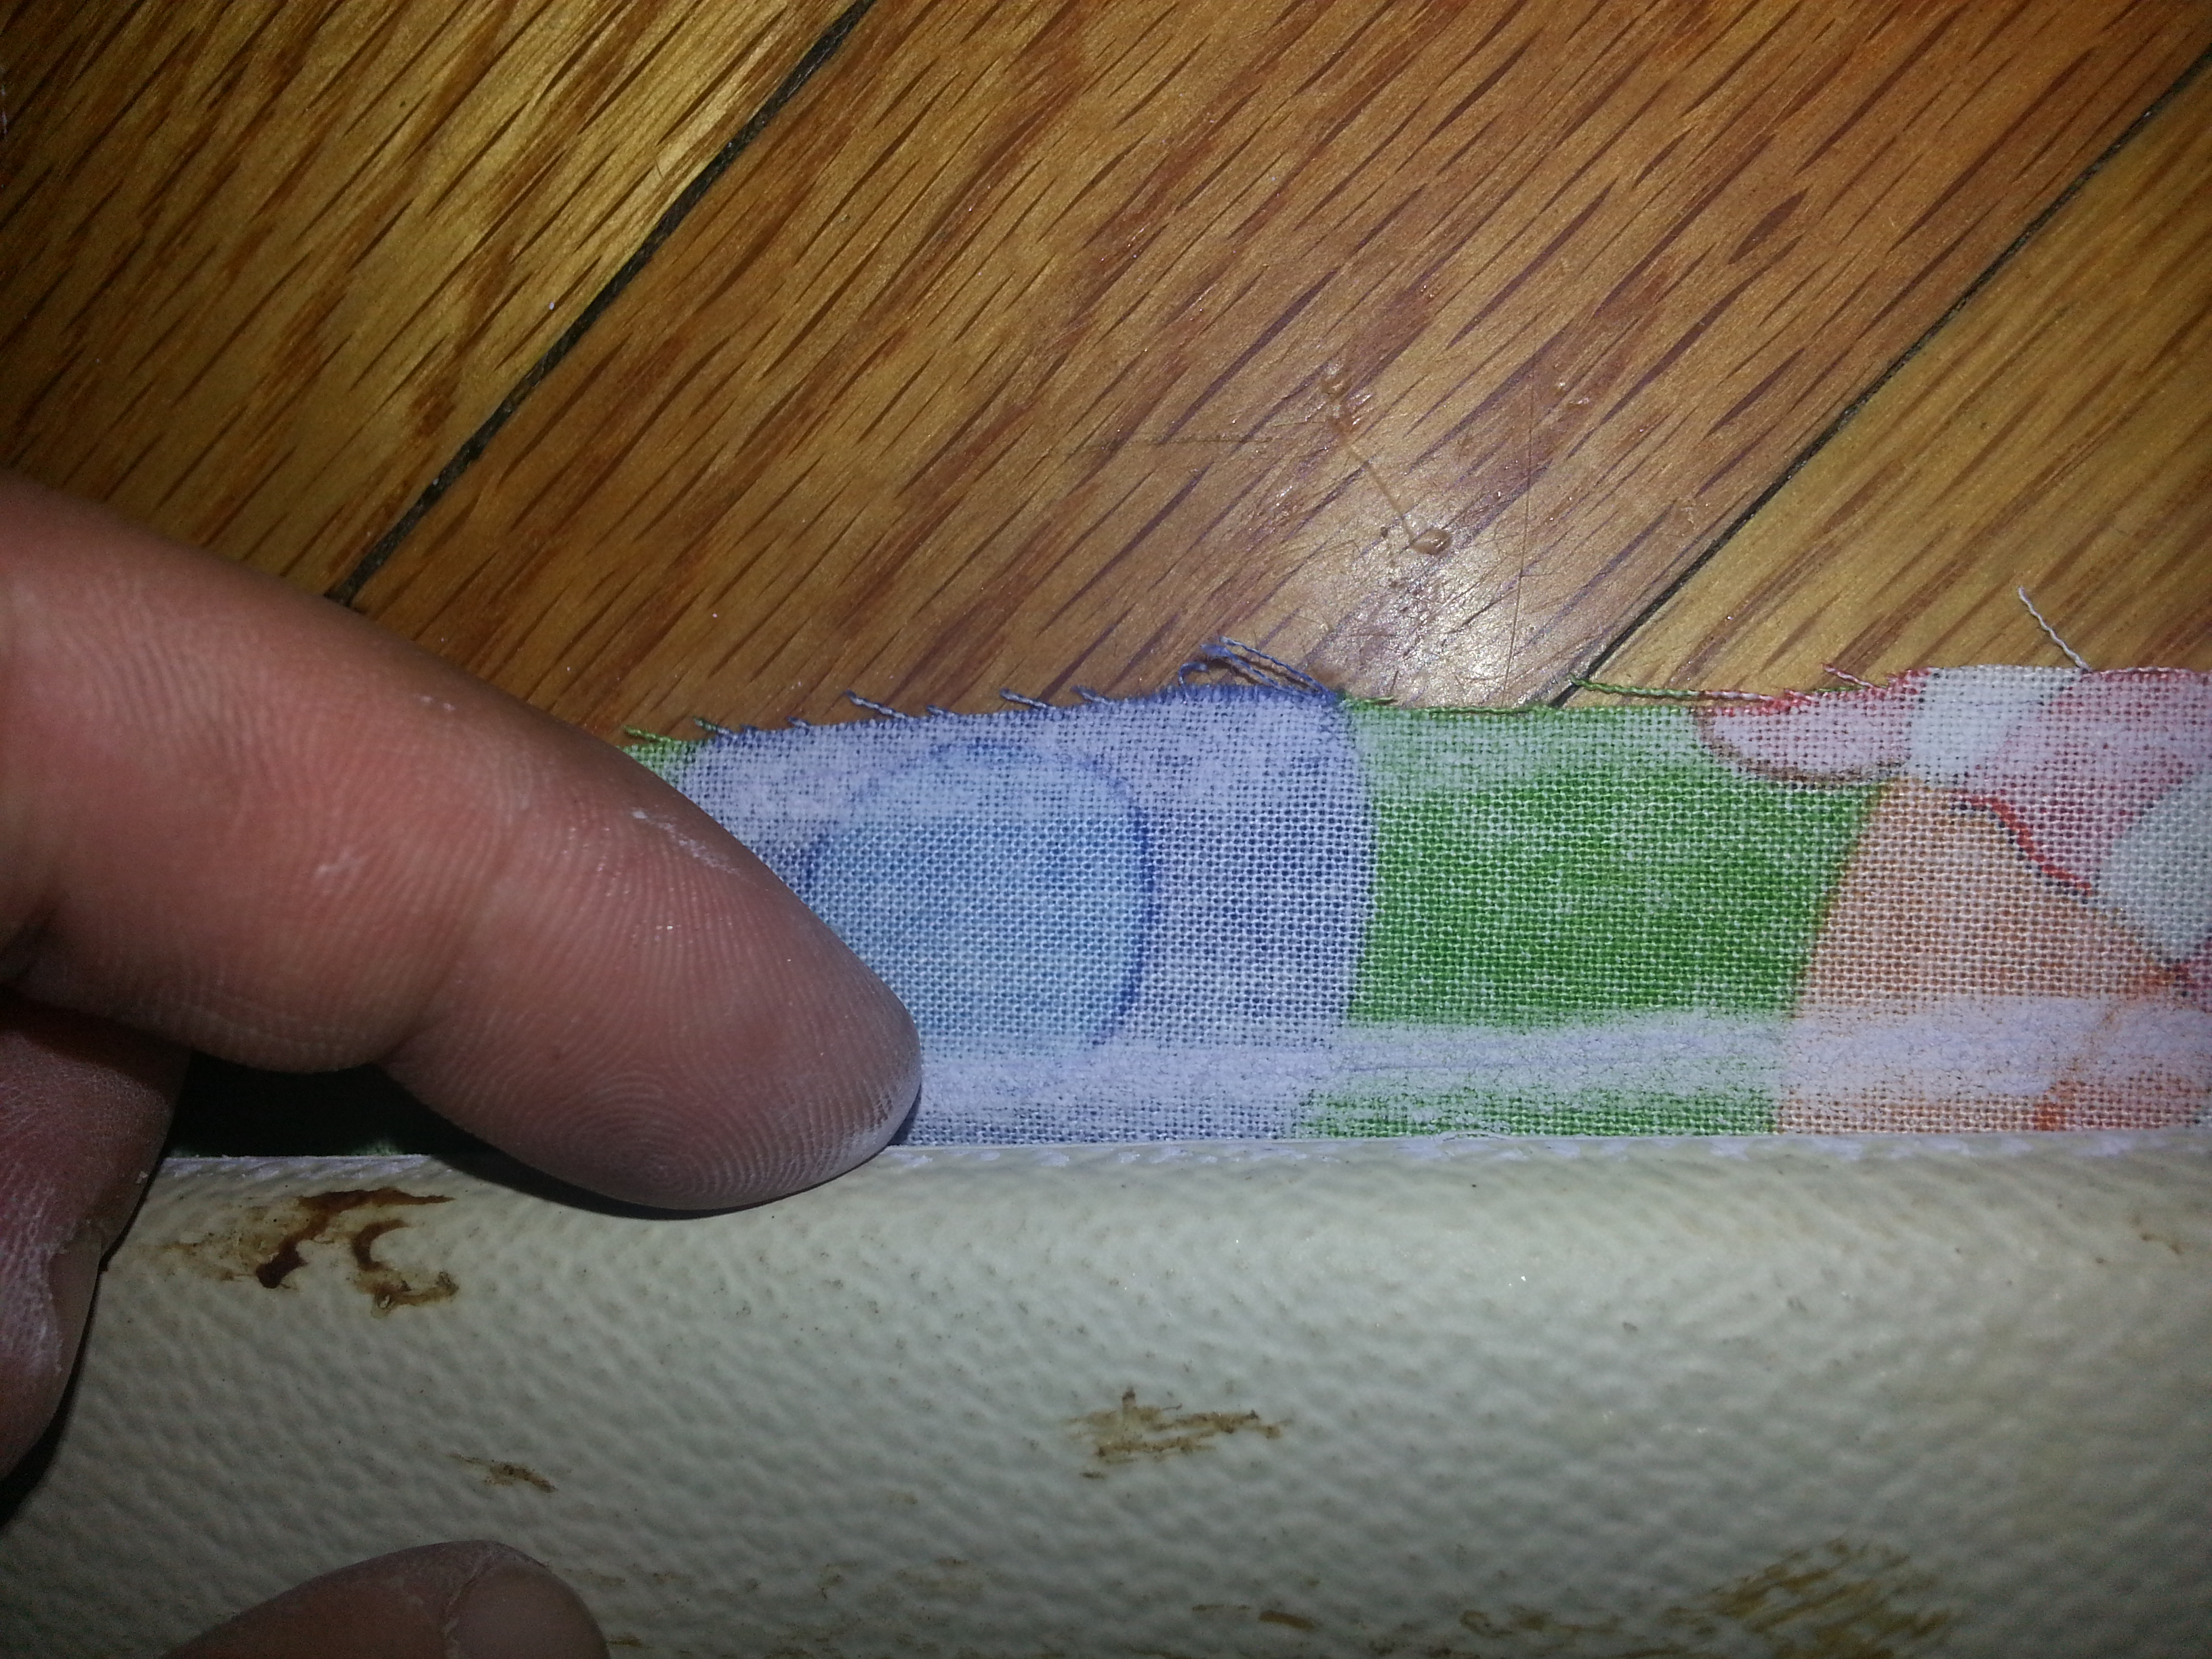
Step 7. Cut out both pieces along the chalk line you traced. Once they are cut out, line them up with the “good sides” both facing inwards (as in the bottom piece’s good side facing up and the top piece’s good side facing down). It doesn’t matter if the edges you cut are a little jagged or if the two pieces don’t line up perfectly. As long as they more or less line up it will be fine.
Step 8. Place and center your visor on top of the two cut-outs that are lined up facing each other. Then take your chalk and trace around the edge of the visor (with no gap this time).
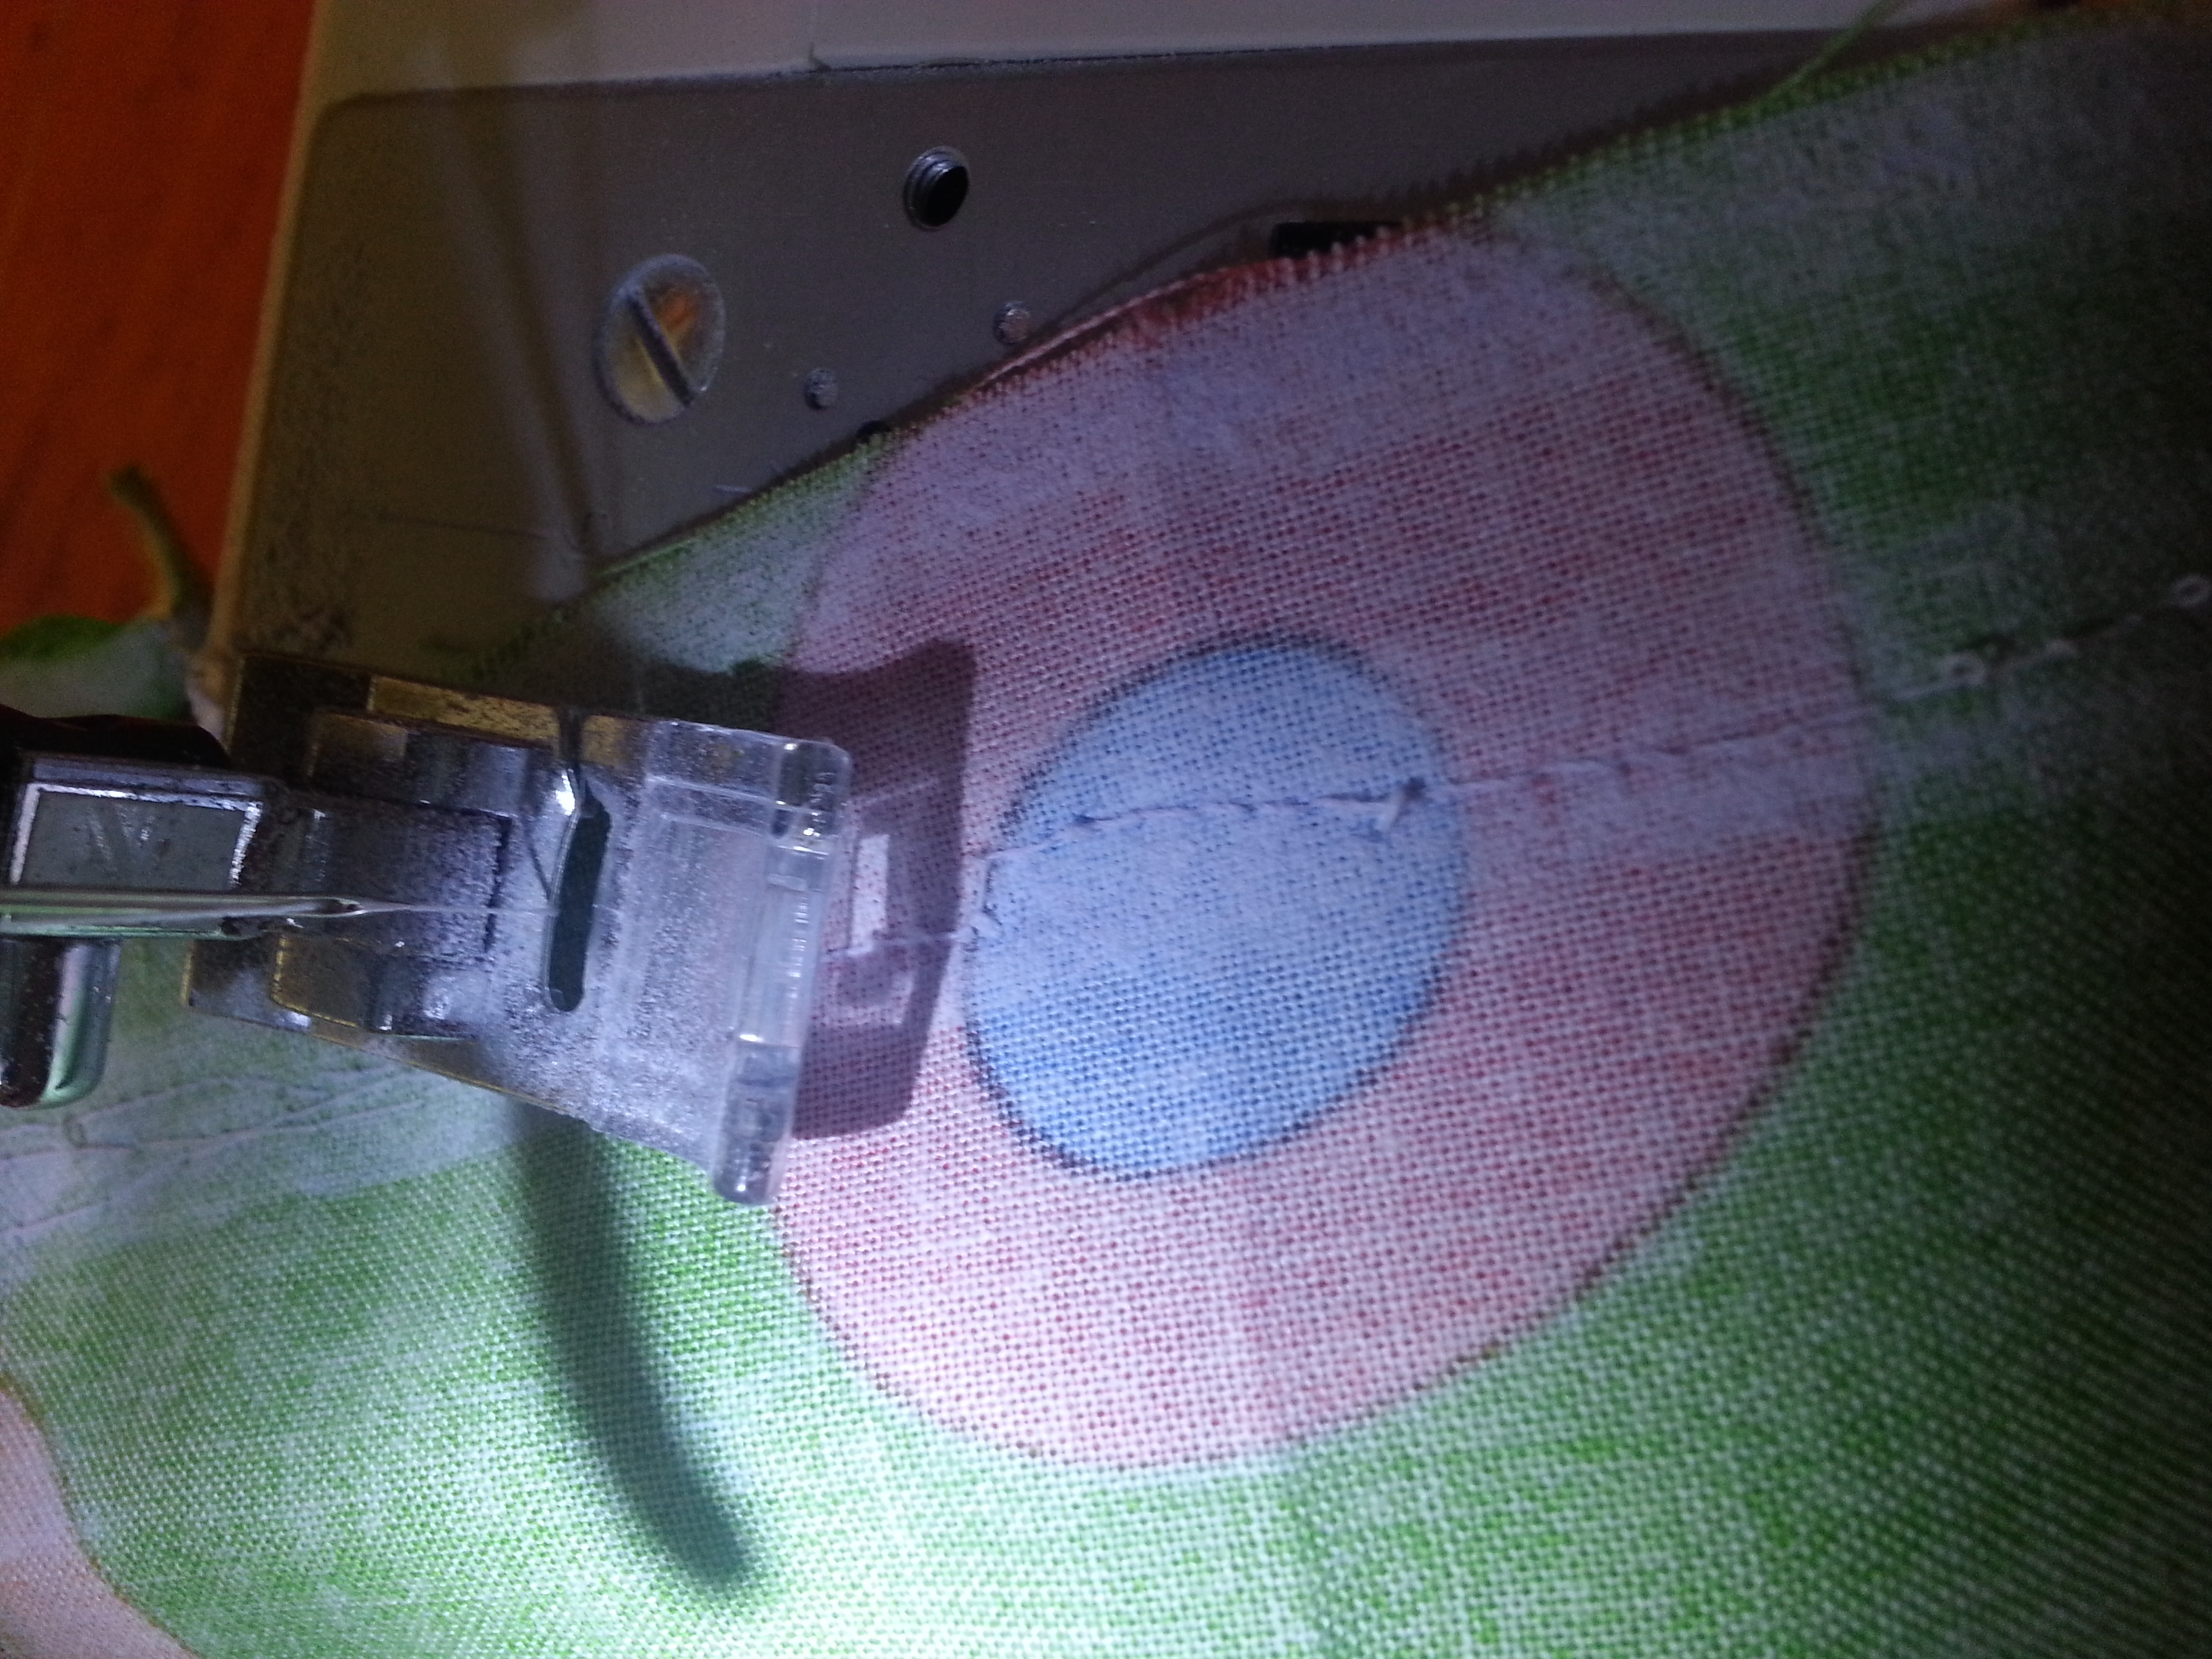
Step 9. If you can sew or know someone that can, sew along the inner chalk line that you just made in step 8. One end of the visor is typically slightly larger than the other. Leave the wider end open (do not sew the wider end).

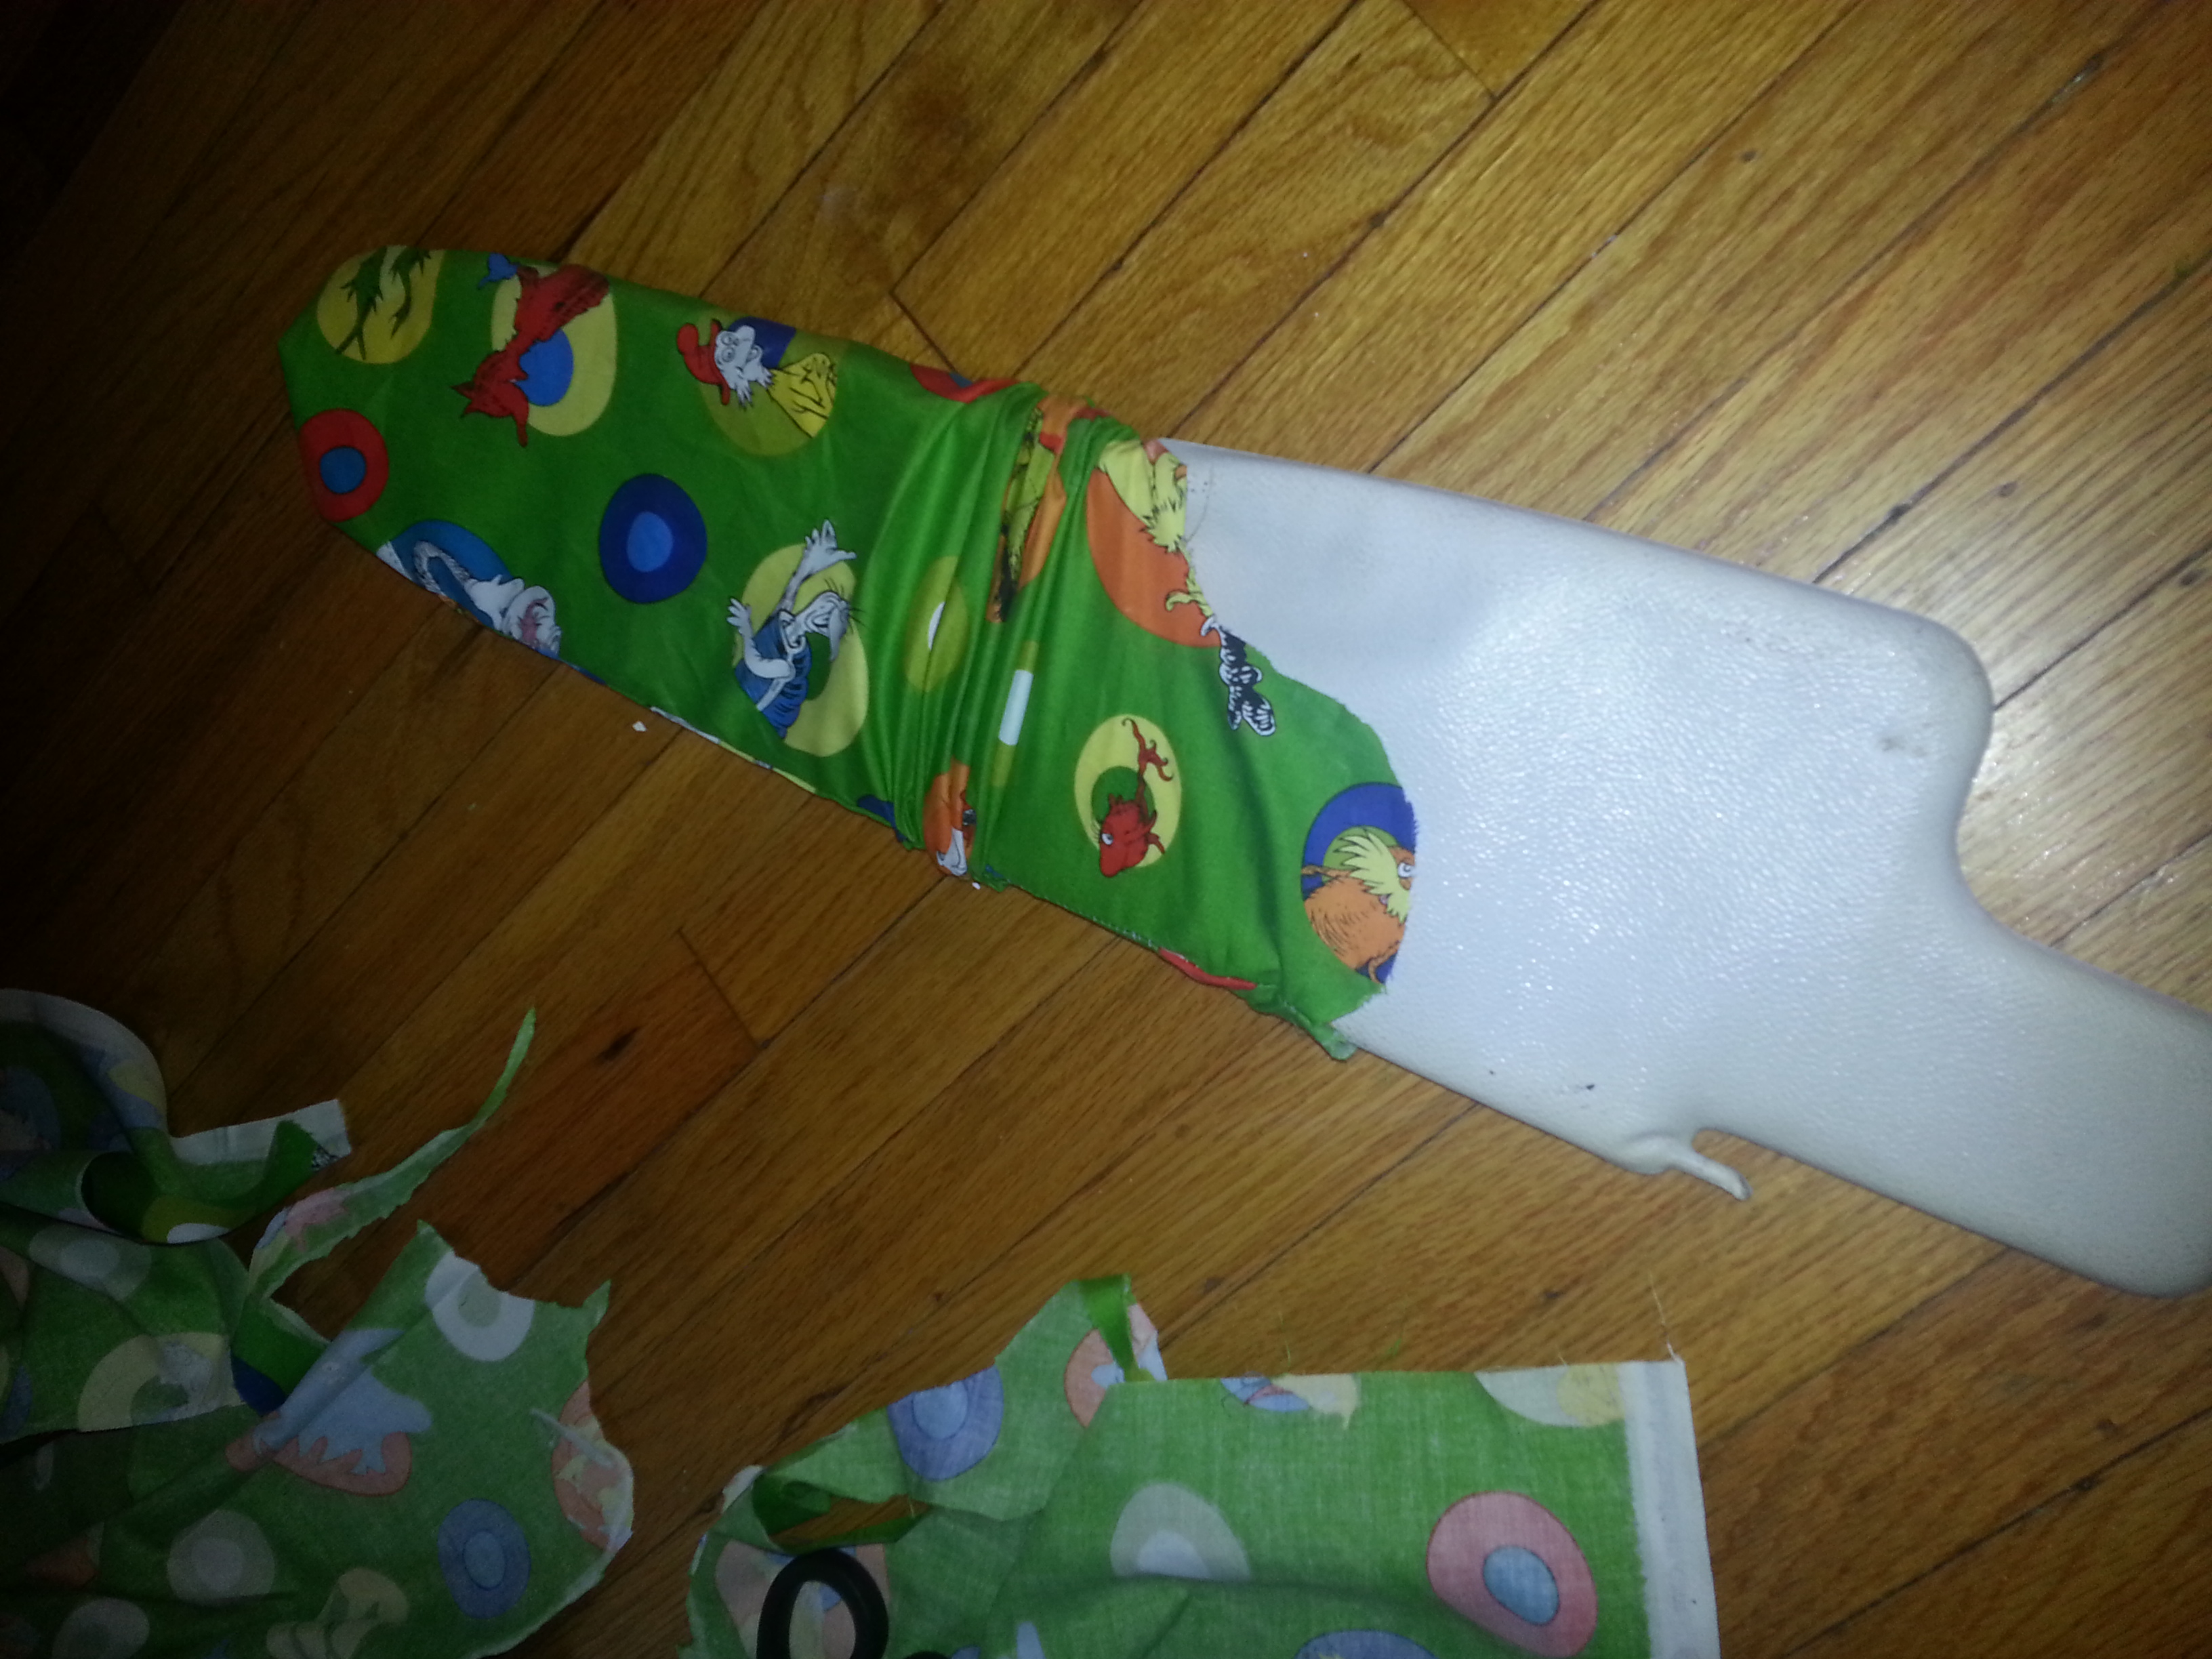
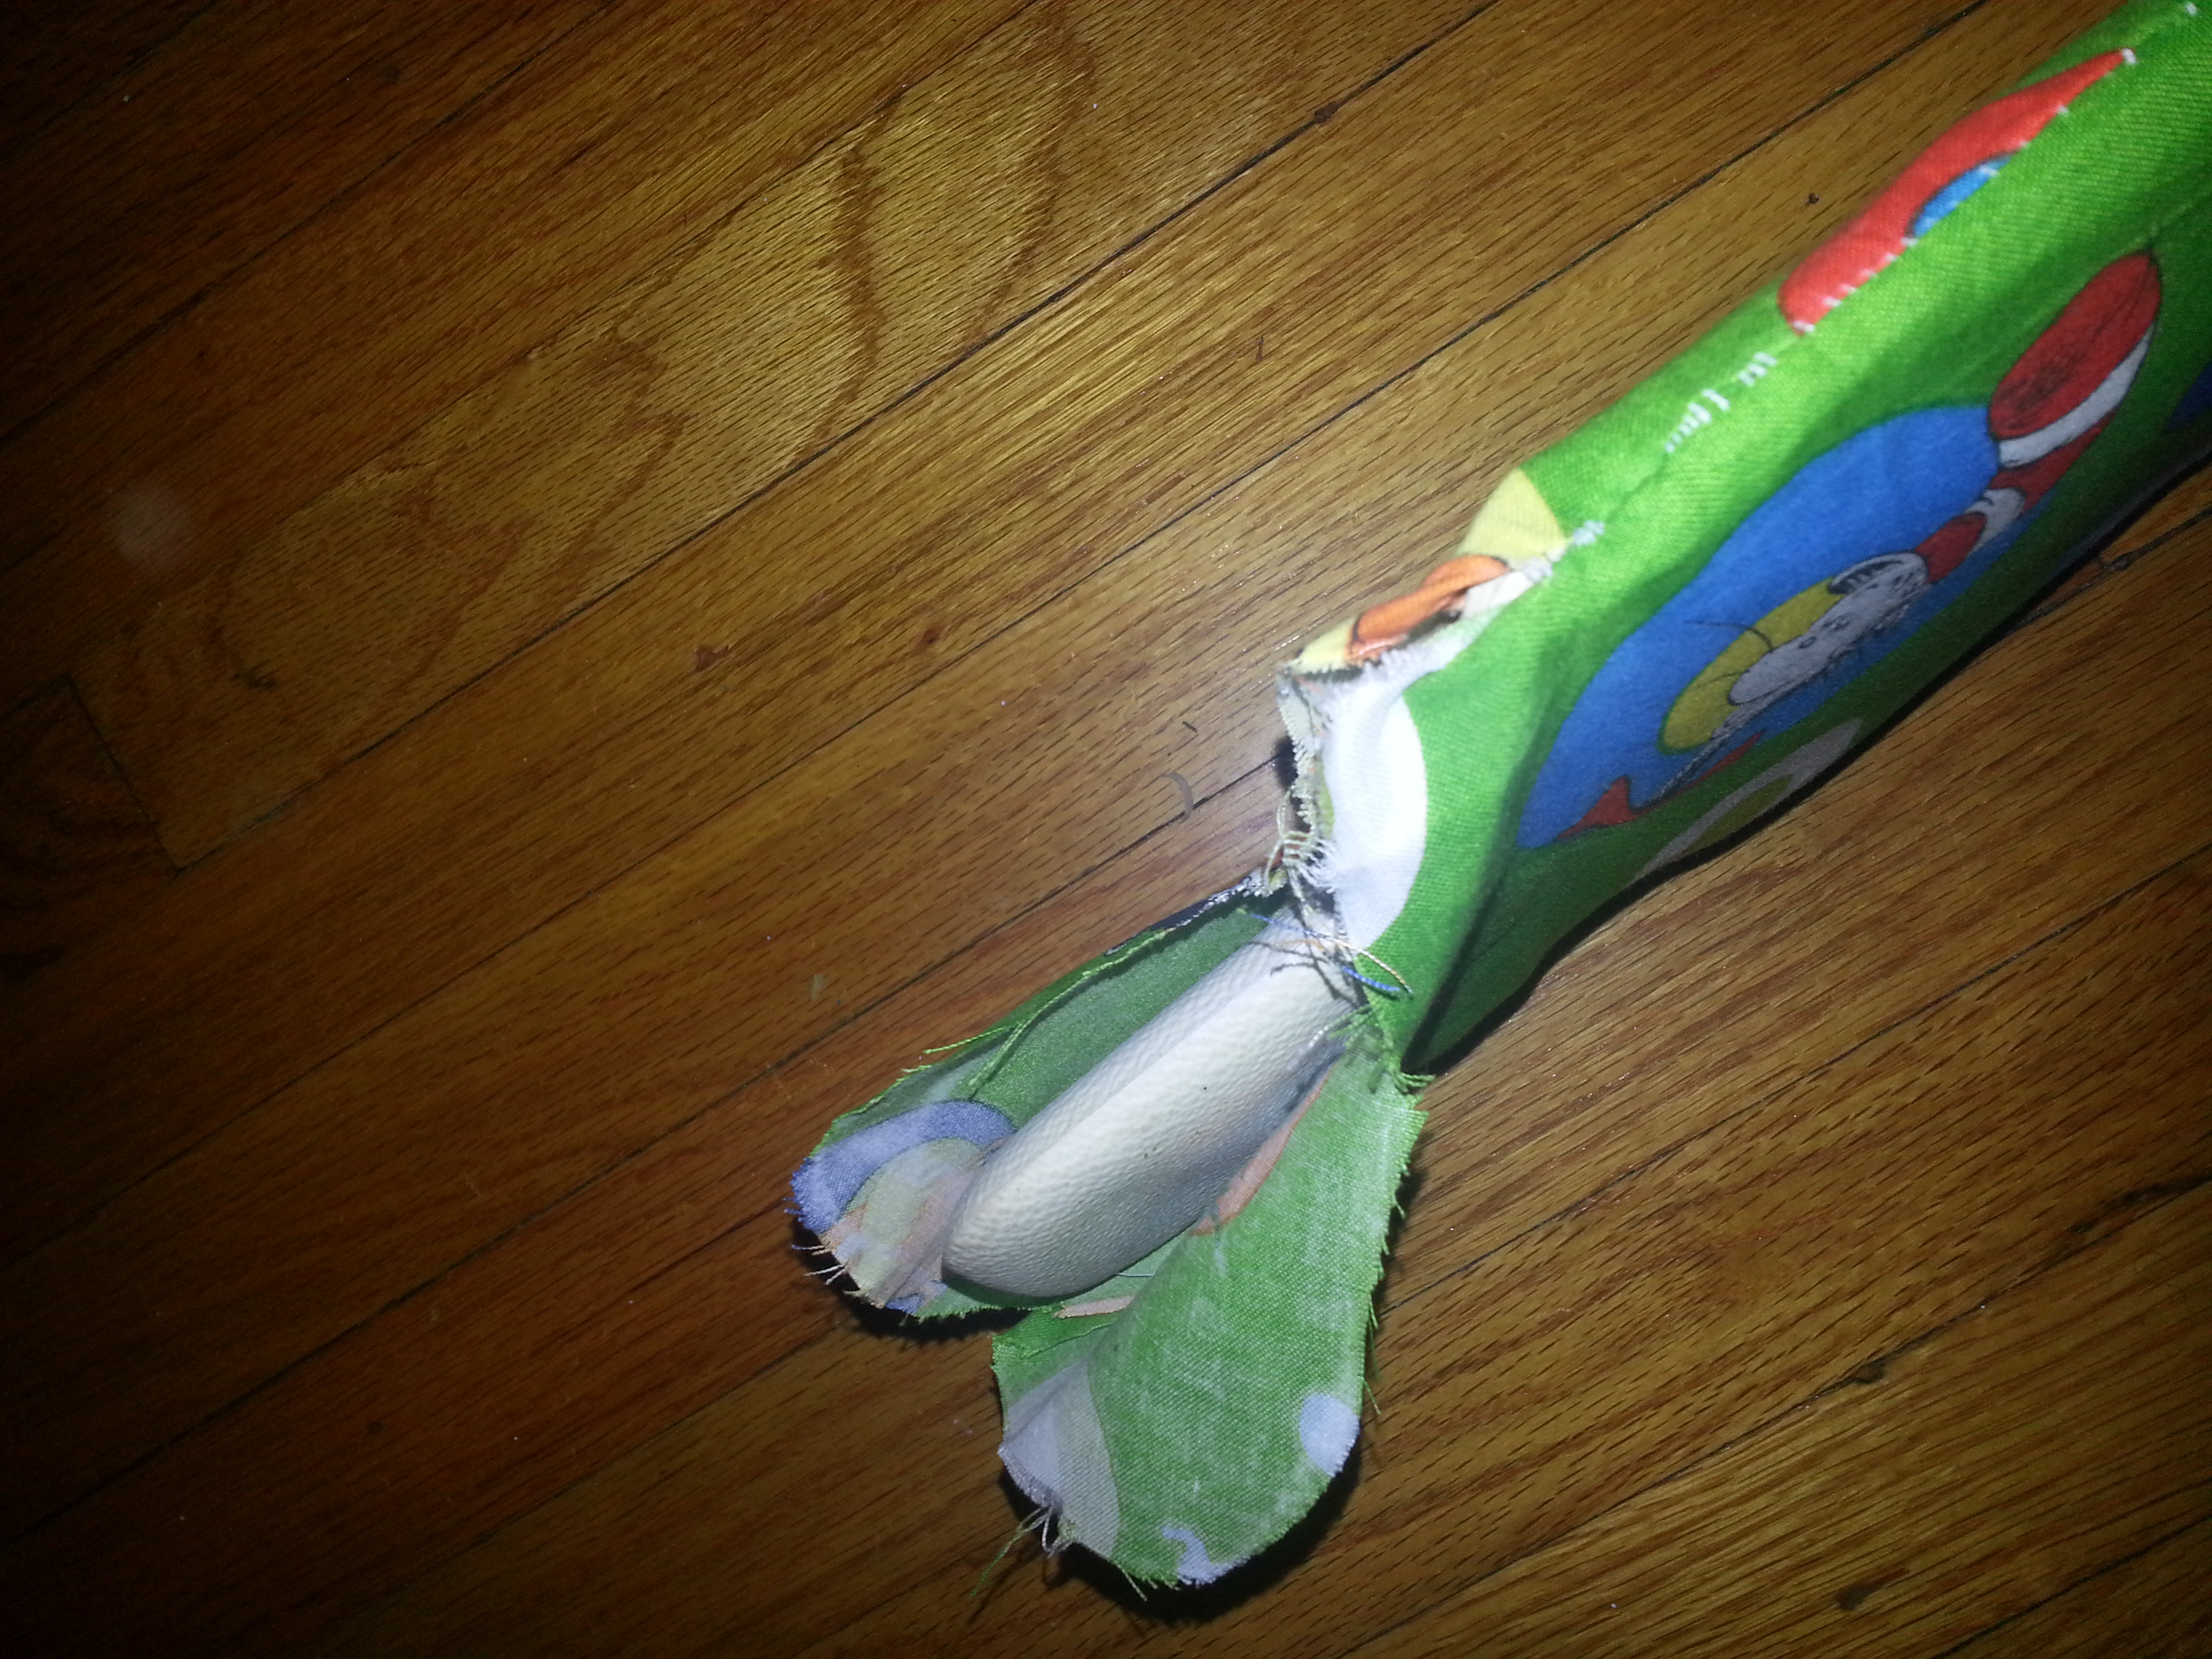
Step 10. You should now have a sock-like object. Turn it inside out so that the “good side” is facing outwards. Your seams and cut-edges will now be hidden on the inside. Now that your cover is the right way out, carefully slide it on to your visor. It should fit snuggly. If it is too loose, take it off, flip it inside out and sew a new line slightly closer on the inner side of the previous line you sewed. If it is too tight, you may have to undo the stitching and re-sew it.
Step 11. You are just about done. My sewing skills aren’t great, so at this stage I took my visors to my local tailor and asked her to close off the end that was left open. If you have better sewing skills you can fold the edges of the fabric inwards and then sew it shut so that the edges are hidden and you have a clean seam.
Step 12. Repeat steps 3-11 for the second visor.
Step 13. Re-attach the visor brackets if you took them off. Then re-install the visors in your vehicle.
If your visors have a mirror (mine didn’t) this will make the project a little trickier, but I’m sure it is still doable with a little ingenuity.
All in all I would rate this DIY project as EASY. It took me about 1-hour to complete and cost me $14 ($1 for thread, $9 for a yard of fabric, and $4 to have the ends finished by my tailor).

Stay tuned. More DIY projects to come.